How to Edit Videos in CapCut: A Complete Guide for New Users
I still remember the first time I edited a video in CapCut. It was just a simple 30-second reel, but I couldn’t figure out where to start. The timeline was confusing, there were so many buttons, and I kept clicking on the wrong option.
After editing several videos for Reels, TikTok, and YouTube Shorts, I found that CapCut is not that difficult to use. It’s an easy video editing app for beginners. No prior experience is required to use it. Just understand the process once, and you’ll be able to edit your videos with ease.
In this guide, we’ll explain in simple terms how to edit videos in CapCut.
What is CapCut?
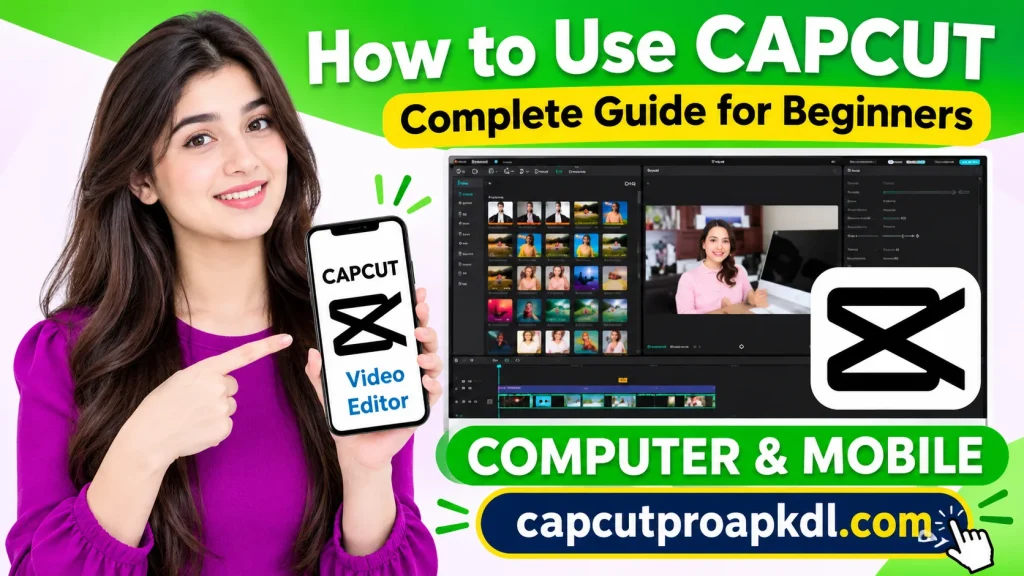
CapCut is a free video editing app made by ByteDance. The same company that also runs TikTok. You can use it on Android, iPhone, Windows, and Mac. It also has a web version.
Most newbies use CapCut on mobile because it is easy to operate. While the desktop version is good for editing long YouTube videos.
You can download CapCut from the Google Play Store, Apple App Store or its official website. Always download the app from the official source so that you get a safe app and new updates.
Have these 3 things ready before you start
1. Your videos and photos that are in your phone’s gallery.
2. Decide how long your video should be, for example 30 seconds for a Reel.
3. Try to make your video have good lighting and clear sound, because it is difficult to completely fix a video that is too dark or noisy through editing.
If you have these things ready, editing the video becomes quite easy.
Step 1: Create a new project
First of all, open CapCut and tap on New Project.
Now select the videos from your gallery that you want to edit. Then tap Add. All your videos will appear in the timeline at the bottom of the screen. If you’re making a video for Instagram Reels or YouTube Shorts, try to make your first video vertical. CapCut usually adjusts the project size based on the video. My advice: Don’t add 20 videos at once at first. Start with just 3-4 videos. This will make it easier for you to learn how to edit.
Step 2: Trim, Split, and Arrange the Video
This is the most important part of video editing. Tap the video you want to edit in the timeline. You’ll see white handles on either side of the video. You can drag them forward or backward to shorten the beginning or end of the video.
If you want to remove a section from the middle of the video, move the playhead to that spot and tap Split. Then, select the part you don’t need and tap Delete. If you want to change the order of the videos, drag them to the right or left in the timeline.
Remember, you don’t need a lot of effects to make a good video. The main thing is to remove unnecessary parts and keep only the working ones. I always cut the video first. During this time, I remove errors, long pauses and moving parts. Then I add effects and text.
Step 3: Add Text and Auto Captions
Text helps people understand your video more easily. Especially those who watch videos without sound.
Tap on Text in the menu at the bottom of the screen, then select Add Text. Now write your text and choose the font, size and color according to your preference. Then place the text where you want on the screen.
CapCut also has an Auto Captions option. It automatically creates subtitles for the video by listening to your voice. But sometimes it writes some words wrong, so be sure to check the captions after the video is complete and correct them where there are errors.
Try not to make the text too long. One or two lines is enough. Too much text makes the video look cluttered and difficult to watch.
Step 4: Add Transitions, Effects, and Filters
Once you have all the videos in the right order, you can now make them even better.
Tap on the small white icon between the two videos. From here, you can apply any Transition. For newbies, simple Transitions like Fade or Slide are good. There is no need to add a separate Transition between each video.
Tap on Effects to apply Effects. If you want to apply an effect to the entire video, use Video Effects. While for an effect that moves with a person, you can use Body Effects.
Don’t overuse Effects. A good effect can make a video look beautiful, but too many effects can also make it look weird.
Similarly, tap on Filters and choose a filter according to your video. I usually keep the filter strength at 50 or 60 percent instead of 100. This makes the video look cleaner and more natural.
Step 5: Add Music, Sound Effects, and Voiceover
Good sound and music can make your video more interesting.
To add music to CapCut, tap on Audio. Here you will find different songs. You can find music in moods like Happy, Calm or Energetic according to your preference.
Always choose music that goes well with your video.
If you want to add something in your voice to the video, tap on Voiceover. Sit in a quiet place, keep your phone close to you and record your voice. If there is any mistake in the recording, you can trim this part later.
Also, be sure to check the volume of the voice. Your voice should be heard more clearly than the background music. I usually keep the music volume at 20 to 30 percent with Voiceover.
Step 6: Change the Speed of the Video and Add Smooth Motion
The Speed option is especially useful for Reels and Travel Videos.
First, select the video clip and tap on Speed. Here you will find options like Normal and Curve. If you want to play the video in Slow Motion, set its speed to 0.5x. While to speed up the video, select 2x. This will make the video play faster. CapCut also has a feature that smooths out the motion while changing the speed of the video. This will reduce the sudden jerks in the video. Use this feature on just one or two clips at first so that you can feel the difference.
Step 7: Export your video in High Quality
When your video is complete, tap the Export arrow icon at the top right of the screen. 1080p resolution and 30 fps are best for most social media videos. This saves the video in good quality and does not increase the file size.
If you are making a video for YouTube and your original video was recorded in 4K, you can also select 4K. Before exporting the video, be sure to watch it from start to finish. Check if there are any errors in the text, if the sound is not stopping in the middle, and if there are no black frames in the video.
Now tap Export and wait for the video to save. Don’t close the app until the export is complete.
5 Pro Tips I’ve Learned From My Experience
1. Consider the preferences of your viewers
If a clip isn’t doing anything special in the video, remove it, no matter how much you like it.
2. Make the first 3 seconds interesting
People decide whether they want to watch the video or not in the first few seconds. So start the video with a good clip or something interesting.
3. Keep the style of the entire video consistent
Use the same font, one or two colors, and similar transitions. This makes the video look good and professional.
4. Save your project
CapCut saves your projects automatically. But I also export a backup copy of the video before making any major changes.
5. Practice with small videos first
Edit 3 to 4 small reels before making a long YouTube video. This way you will learn quickly and make fewer mistakes.
Common mistakes of new users
Many new users add too many effects, stickers, and transitions to a single video. This makes the video look weird and cluttered instead of good.
Another common mistake is to export the video in low quality. Some people do this to save time, but this can make the video look blurry on a large screen.
Some people also don’t pay attention to the sound of the video. Although a video with clear sound and simple editing is often better than a video with too many effects and poor sound.
Frequently Asked Questions (FAQs)
Is CapCut free to use?
Yes, the basic version of CapCut is free. It has options like video cropping, adding text, filters, transitions, and music. Some special features, like Background Removal and Premium Effects, require CapCut Pro.
Can I create videos without a watermark in CapCut?
Yes, there is no watermark when exporting videos normally in the official CapCut app. There is no separate tool required for this.
Is CapCut good for YouTube videos?
Yes, CapCut is good for both YouTube Shorts and long videos. Its Desktop Version is especially easy to edit long videos.
Is prior experience required to use CapCut?
No, prior experience is not required to use CapCut. Once you learn how to trim videos and add text to them, you can easily create a full-fledged video. You will learn the rest of the features with practice.
Conclusion
Editing videos in CapCut is not difficult. Just create a new project, trim your videos, add text and music to them and finally export in High Quality.
Don’t try to learn all the features in one day. Edit a small video today and see what you did well and where you need to improve. Then take care of these things in the next video.
The more you practice, the faster you will learn to edit videos and your videos will start looking better than before.